
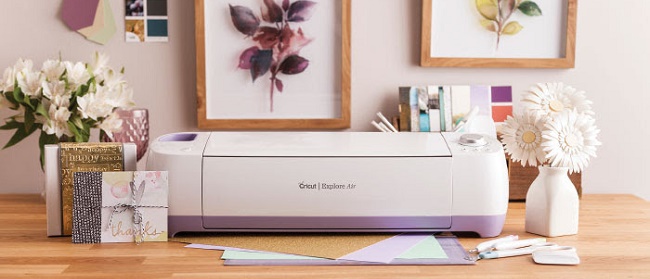
Use your Cricut Explore Air to cut printable planner stickers! Includes a video and step by step instructions.

This post contains affiliate links. See my Disclosure Policy for details.
When I first started using planner stickers, I knew I wanted to use some of the adorable printables that I found. But I was not excited about cutting them out by hand. Then I got my Cricut Explore Air and a whole new world opened up. Using a Cricut to cut planner stickers is SO easy, and with all the free printable planner stickers you can find, you'll never want to buy them again.
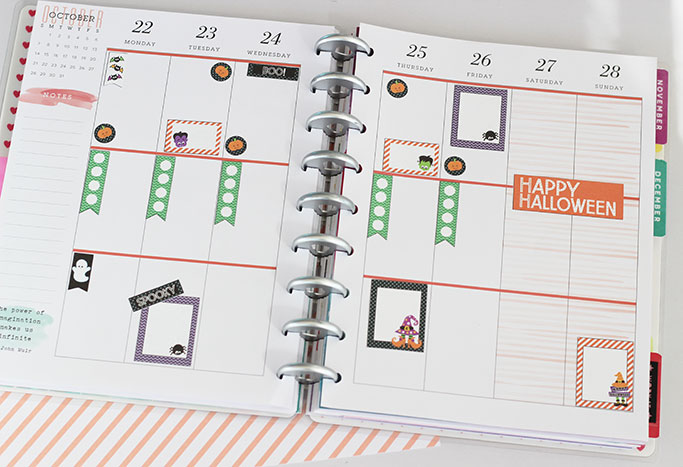
OK that's not totally true as evidenced by my planner sticker collection, but you will love adding printable planner stickers to your stash once you know how to cut them with your Cricut. Ready to see how easy it is? Here you go!

How to Cut Printable Planner Stickers with a Cricut Explore
The Cricut makes cutting planner stickers so easy once you get the hang of it. Watch the video below to see it in action, then keep reading for step by step instructions.
You'll Need:
Directions:
1. Start by making sure that you have the proper file type to use with your Cricut machine. You can use .jpg, .gif, .png, .bmp, .svg, or .dxf files. Many printables come as PDF files, so if that is what you have you will need to convert it to one of the other file types. You can do that easily and for free with a PDF to JPG converter.2. Once you have the proper file type, go to Cricut Design Space and click on "New Project."
3. Click "Upload" on the bottom left hand side of the project dashboard.
4. Click "Upload image" then drag and drop your image file onto the dashboard.
5. Next, it will prompt you to choose an image type. Select "Complex." Hit continue.
6. Now you'll need to erase the background. Use the magic wand tool and click on the background. It should turn from white to transparent. Hit Continue.
7. Give your file a name and save it as a "Print then Cut Image."
8. Now you should see your new image as a "Recently Uploaded Image." Click on it, then click the "Insert Images" button on the bottom right.
9. Now you will see your image on the layout. Move it to the top left of your layout, and resize as needed. I size my planner stickers at 6.75 inches wide and 8.735 height, but you can adjust this if needed.
10. Once your image is properly placed and sized, click the "Make It" button on the top right hand corner.
Now you can follow the prompts to print and cut your file.
1. Make sure that your Explore is connected and turned on.
2. Load your sticker paper into your printer, and click "Send to Printer."
3. Once your file is finished printing, place it onto a cutting mat. I prefer to use a light grip for planner stickers.
4. Load your cutting tool and your mat onto your Cricut. When it is ready, press the Go button and let your machine do the rest!
Ready to start making? Head over to Design Space and cut your own stickers now!
